

Heat transfer vinyl (HTV) is one of the most accessible ways to decorate textiles. With a cutter, a heat press and the right film you can produce professional names, numbers and logos in minutes. Yet small mistakes – a missing mirror, a cold platen or an early peel – are responsible for most of the returns decorators see. This guide walks through the complete workflow we recommend to our customers, from the design file to the first wash.
1. Understand the material you are using
Every HTV consists of three layers: a carrier (usually a clear PET film), the coloured face film (PVC, PU, PET or special effect layers) and a heat-activated adhesive. When heated, the adhesive melts and flows into the fibres of the fabric; when it cools, it locks the film to the garment.
Different series need different settings. Standard PVC films such as VENYL NS Non-Sticky and ST Sticky activate at around 140 °C, while glitter, holographic and high-density films typically need 150–160 °C and more dwell time. Always start with the values printed on the product sheet, then fine-tune on a test garment.
2. Prepare your design correctly
Create your artwork in vector format. Convert text to outlines so fonts cannot change, and check that no line is thinner than 0.8 mm for PVC or 1.5 mm for glitter and high-density film. Thin details are difficult to weed and are the first to lift after washing.
Always mirror the design
HTV is cut from the back (adhesive side) because the carrier faces down on the cutting mat. The design must therefore be mirrored horizontally before cutting. Forgetting to mirror is the number-one reason for wasted vinyl – build it into your checklist or enable the "mirror" option in your cutter software by default for HTV jobs.
Size and placement
Standard adult chest prints are 25–30 cm wide, left-chest logos 8–10 cm, and back numbers 20–25 cm high. Measure the garment and consider seams, zips and pockets. A simple cardboard template for each garment size speeds up positioning in serial production.
3. Cutting settings
Place the vinyl shiny carrier side down. Use a 45° blade for standard films and a 60° blade for thick glitter or high-density material. Run a small test cut (a triangle inside a square) and check that:
- the blade cuts cleanly through the coloured film and adhesive;
- the carrier is only lightly scored, never cut through;
- the test shape weeds out easily without lifting corners.
Increase force in steps of 5–10 g until the test weeds perfectly. A dull blade needs more force and tears corners – replace blades regularly; they are cheaper than wasted vinyl.
4. Weeding and trimming
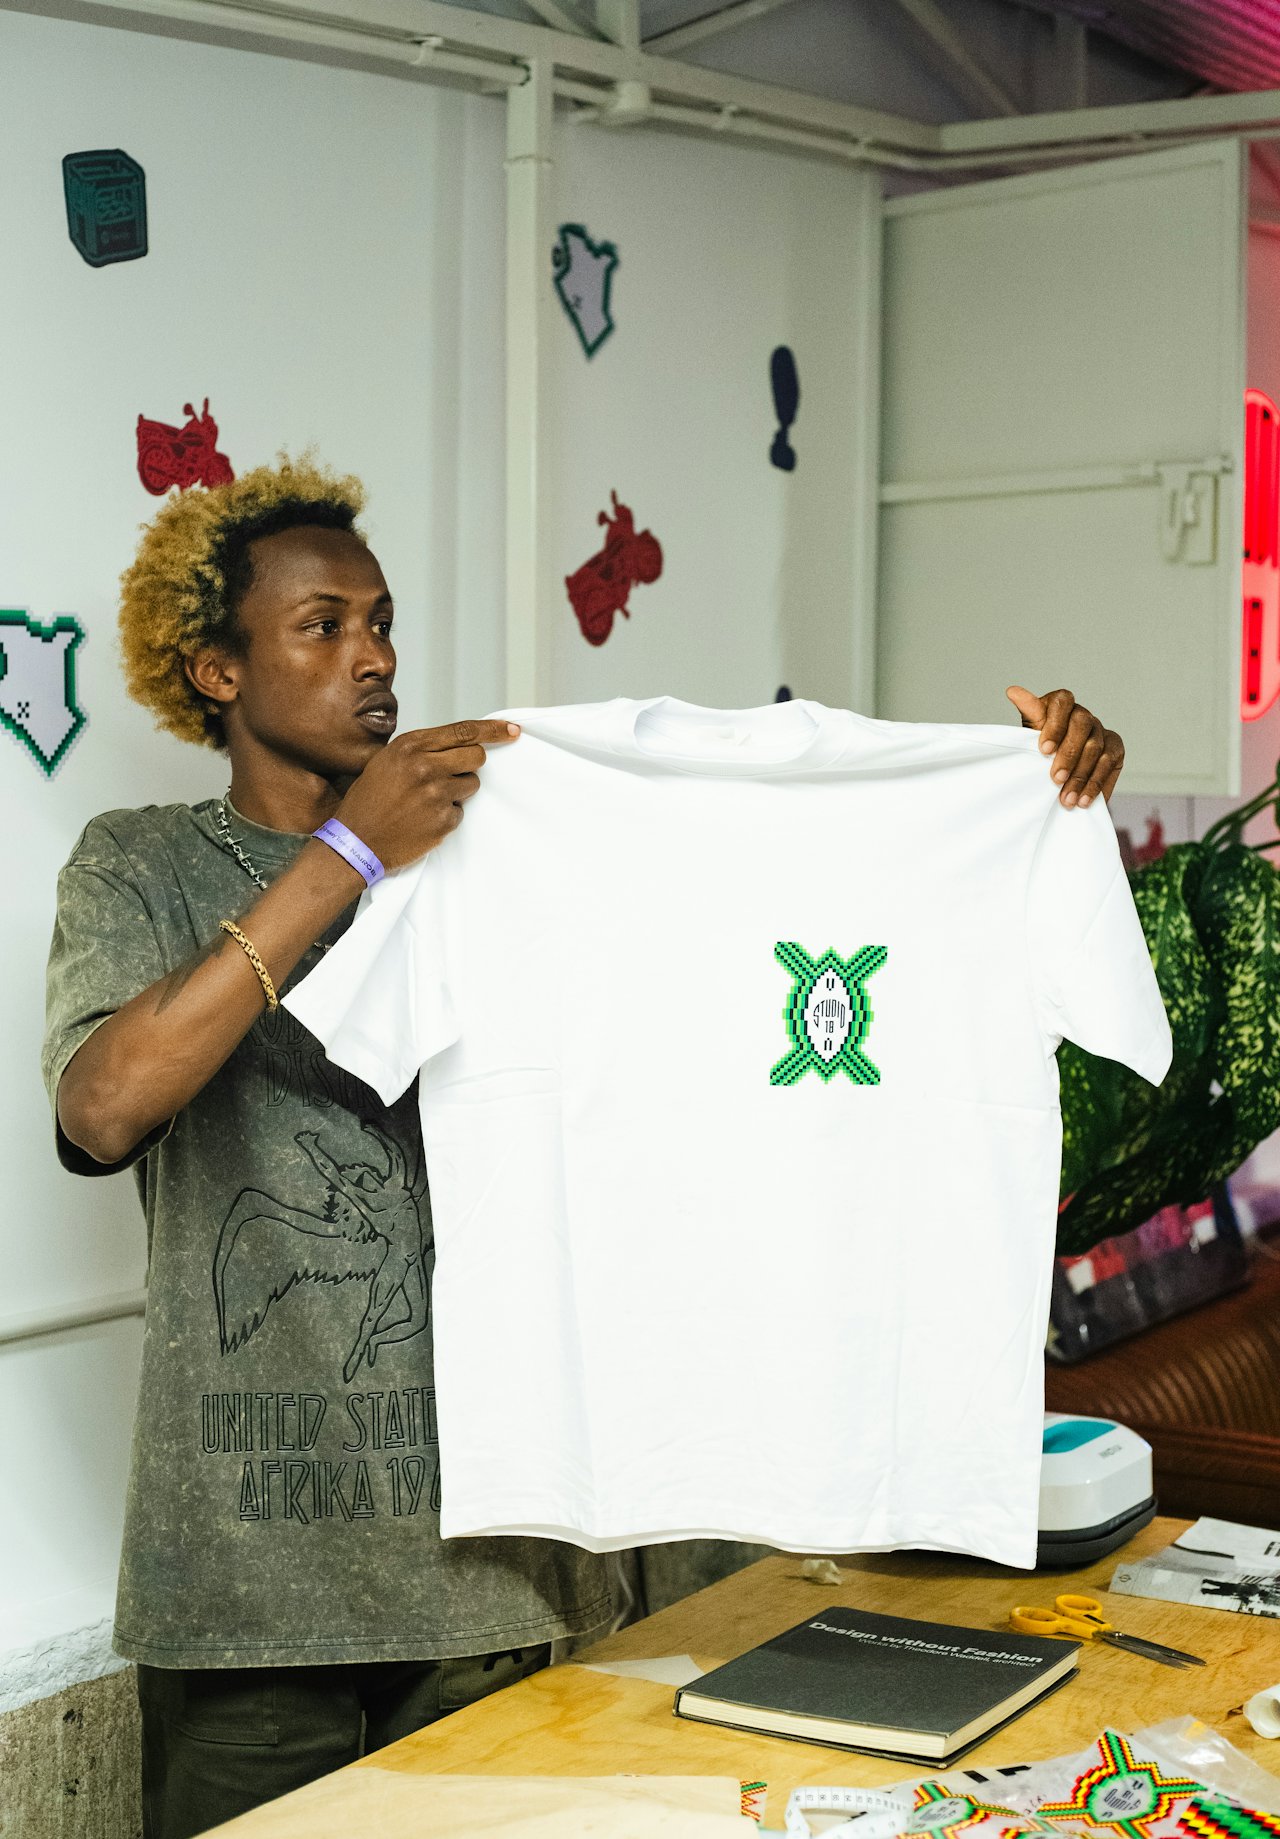
Weeding means removing the excess vinyl around and inside the design. Start at a corner, pull at a sharp angle and use a hook tool for small counters in letters such as "a", "e" and "o". Weeding directly after cutting is easier because the adhesive has not yet re-bonded along the cut lines.
Trim the carrier to leave 1–2 cm around the design. Smaller carriers are easier to position, and the carrier edges will not leave marks on sensitive fabrics.
Sticky vs. non-sticky carriers
Sticky carriers hold small pieces in place and can be repositioned on the garment – ideal for fine lettering. Non-sticky carriers allow hot peel and faster production. Read our sticky vs. non-sticky comparison for details.
5. Set up the heat press
A heat press gives three controlled variables: temperature, time and pressure. All three must be right; if one is off, the others cannot compensate.
| VENYL series | Temperature | Time | Pressure | Peel |
|---|---|---|---|---|
| NS / ST (PVC) | 140 °C / 285 °F | 10–15 s | Medium | Hot or cold |
| RF Reflective | 140 °C / 285 °F | 10–12 s | Medium | Warm |
| MT Metallic | 140 °C / 285 °F | 8–10 s | Medium | Warm |
| HL Holographic | 150 °C / 305 °F | 10–15 s | Medium | Hot or cold |
| GT Glitter | 150 °C / 305 °F | 12–15 s | Firm | Warm |
| HD High Density | 150–160 °C | 15 s | Firm | Cold |
Heat press displays are often inaccurate by 10–20 °C, especially at the edges of the platen. An inexpensive infrared or contact thermometer is a worthwhile investment. You can also use our interactive heat press settings calculator to get a starting point for every series and fabric.
Checking the pressure
Place a sheet of paper at each corner of the lower platen and close the press. You should feel equal resistance when pulling each sheet out. "Medium pressure" on a manual clamshell press usually means you need a firm, two-handed push to lock the handle.
6. Pre-press the garment
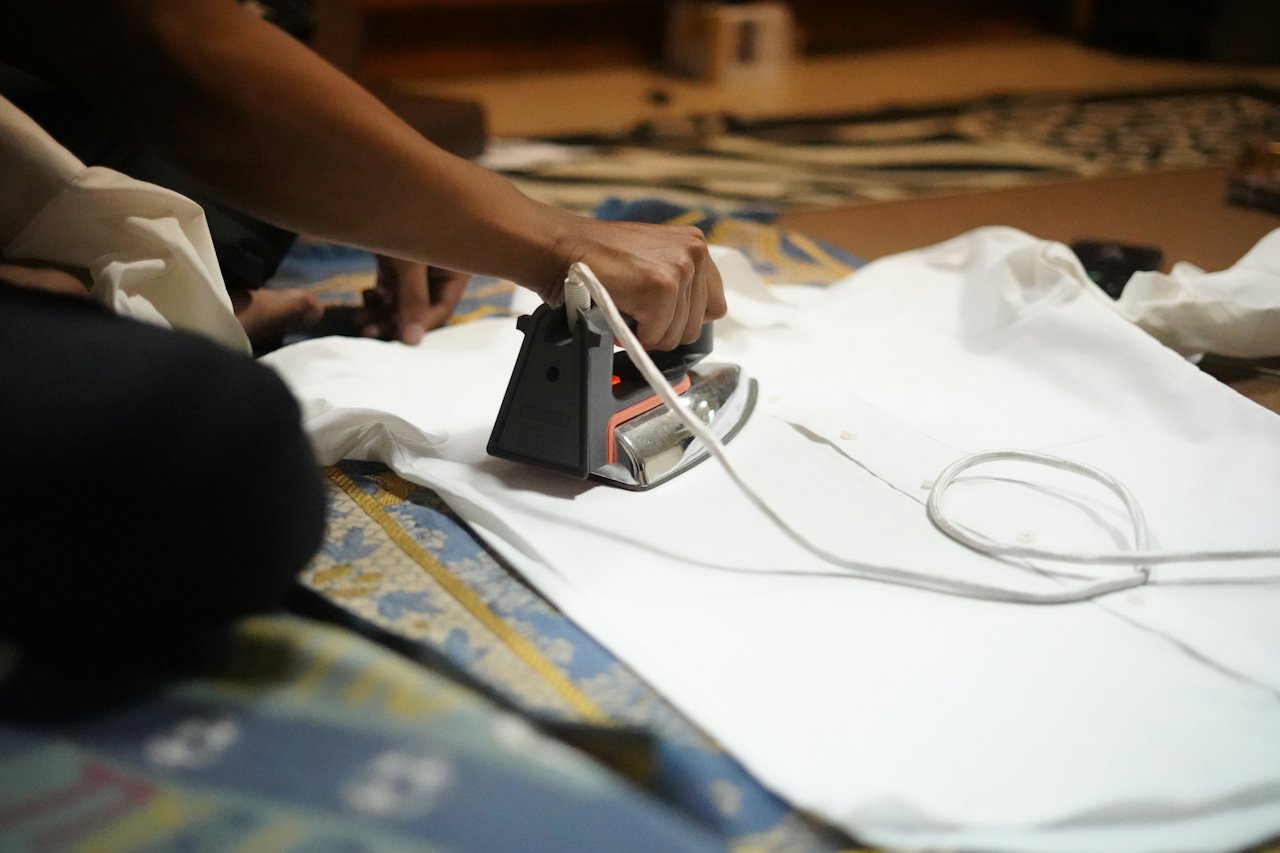
Pre-pressing the garment for 3–5 seconds removes moisture and wrinkles. Moisture turns into steam under the platen and prevents the adhesive from bonding evenly. It also reveals whether the fabric reacts to heat – polyester can show shiny marks, and some dyes start to migrate.
Use a lint roller to remove fibres and dust. A single hair under the vinyl creates a visible bump and a weak spot.
7. Position and press
- Place the design with the carrier facing up. A sticky carrier will hold itself; a non-sticky carrier can be secured with heat-resistant tape.
- Cover with a PTFE (Teflon) sheet or silicone paper to protect the film and the platen.
- Close the press and start the timer only when the press is fully locked.
- Open the press smoothly – avoid dragging the platen across the carrier.
8. Peel at the right moment
The peel type is part of the adhesive chemistry. Hot peel films release immediately; warm peel films need a few seconds; cold peel films must cool completely. Peeling a cold-peel film too early lifts edges or leaves adhesive on the carrier. Peel at a low angle and slowly; if a part lifts, lay the carrier back down and press for another 5 seconds.
9. Post-press for durability
After removing the carrier, cover the design with a PTFE sheet or parchment paper and press again for 3–5 seconds. The post-press pushes the adhesive deeper into the fabric and gives a smoother, more "printed" look – particularly helpful on textured fabrics like piqué polo shirts.
10. Aftercare instructions for your customers
- Wait 24 hours before the first wash so the adhesive can fully cure.
- Wash inside-out, warm or cold, with mild detergent.
- Do not use liquid fabric softener or bleach.
- Tumble dry low or line dry; do not dry clean.
- Never iron directly on the design.
Including a small care card with every order dramatically reduces complaints. Our guide to HTV wash care and durability explains the science behind these rules.
Consistency beats guesswork. Write down the settings that work for each fabric and film combination, and keep a pressed test swatch of each – it becomes your most valuable production reference.
Quick checklist
- Design mirrored? Lines thick enough?
- Test cut weeds cleanly?
- Platen temperature verified?
- Even pressure across the platen?
- Garment pre-pressed and lint-free?
- Correct peel type respected?
- Post-press done, care card included?
Need help choosing the right film for a project? Contact our technical team – we are happy to send free samples so you can test before you order.