
All VENYL heat transfer vinyl series are designed to be home-iron supported – with low application temperatures starting at around 120–140 °C. That makes HTV an ideal material for hobbyists, schools and small makers. But if you want to sell your work, the question soon arises: is a household iron enough, or should you invest in a heat press? This article compares both methods honestly.
How heat transfer really works
HTV adhesive needs three things: enough heat to melt, enough time to flow into the fibres, and enough pressure to push it there. A heat press controls all three precisely across the whole design. A home iron can deliver the heat, but time and pressure depend entirely on the person holding it – and the iron's soleplate is smaller than most designs.
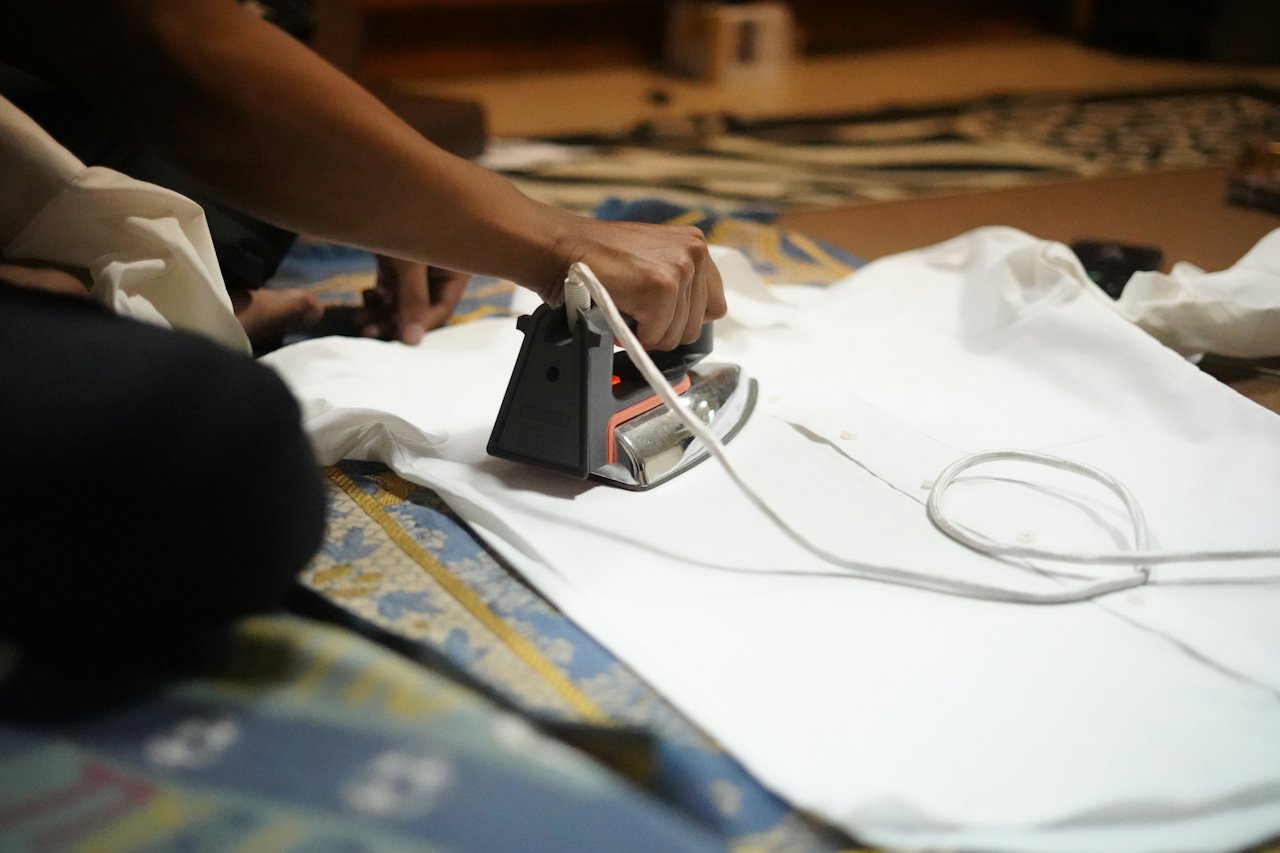
Applying HTV with a home iron – step by step
- Set the iron between the "Cotton" and "Linen" settings. Turn steam off and empty the water tank.
- Choose a hard, flat surface – a table covered with a towel or a pressing mat. An ironing board is too soft and flexible.
- Pre-heat the garment for 5 seconds to remove moisture and wrinkles.
- Position the design with the carrier on top and cover with a cover sheet or multipurpose/parchment paper.
- Press, don't slide. Place the iron and press down firmly with both hands for 20–30 seconds per area. Lift, move to the next area, overlap slightly and repeat.
- Turn the garment inside-out and press the back of the design for another 15–20 seconds.
- Peel according to the film type. If an edge lifts, cover and press again.
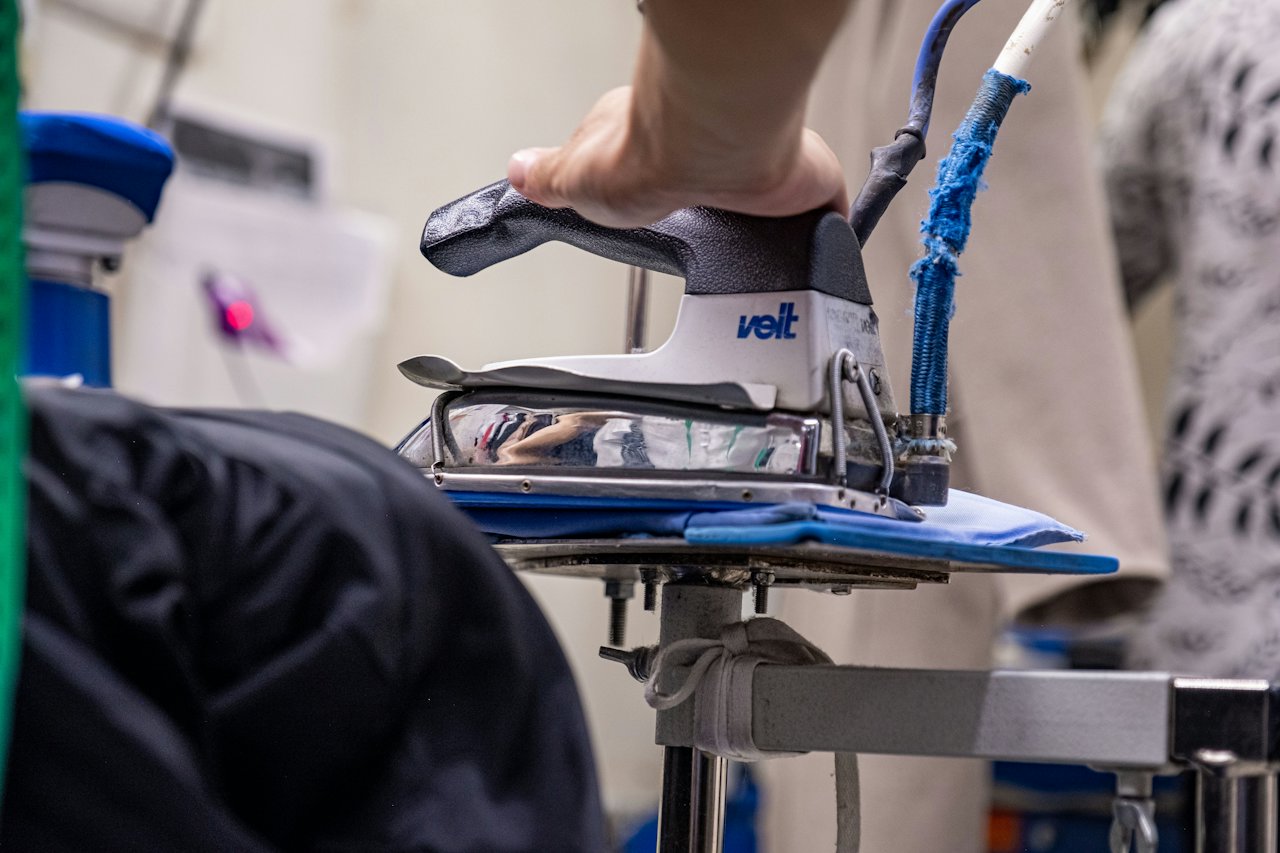
Comparison: iron vs. heat press
| Factor | Home iron | Heat press |
|---|---|---|
| Investment | Already owned | From approx. €150 (entry) to €1,500+ (pneumatic) |
| Temperature accuracy | Low – dial only, cold spots | High – digital control |
| Pressure | Depends on user, uneven | Adjustable, even |
| Max. design size | Pressed in sections | 38×38 cm to 40×60 cm in one press |
| Time per shirt | 2–4 minutes | 30–60 seconds |
| Suitable films | PVC, PU, metallic, reflective | All films incl. glitter, HD, DTF |
| Wash durability | Good if done carefully | Excellent and repeatable |
Which films work best with an iron?
Thin, low-temperature films are the most iron-friendly: VENYL NS and ST PVC, MT Metallic and RF Reflective. Thick films such as glitter, high density and puff need more heat and firm pressure over the full surface; they can be applied with an iron, but results are less predictable. DTF transfers should always be pressed with a heat press.
Mini presses: the middle ground
Handheld mini presses and flat "easy press" style devices offer digital temperature control and an even heating plate. They are excellent for shoes, caps, baby clothes and small logos, and they solve the cold-spot problem of irons. Pressure, however, still comes from your hands.
When to upgrade to a heat press
- You press more than 10–15 garments a week.
- You sell your products and need consistent, guaranteed quality.
- You work with glitter, high density, puff or DTF.
- Customers complain about lifting edges after washing.
- Your designs are larger than the soleplate of your iron.
Clamshell, swing-away or draw?
Clamshell presses are compact and affordable. Swing-away presses move the heated platen aside, giving a better view and reducing burn risk – ideal for thick items. Draw presses pull the lower platen out towards you, combining the benefits of both. For high volumes, pneumatic presses with dual platens maximise throughput.
Cost per garment
An entry-level heat press at €200 that saves two minutes per shirt pays for itself surprisingly fast: at 20 shirts per week, that is 40 minutes saved weekly, plus fewer reprints caused by lifting edges. For a small business, reduced waste alone often justifies the investment within the first few months.
Common iron mistakes – and how to fix them
| Mistake | Result | Fix |
|---|---|---|
| Steam switched on | Moisture under the film, patchy adhesion | Empty the tank, switch steam off |
| Sliding the iron | Design shifts, carrier wrinkles | Lift and press, overlap sections |
| Ironing board as base | Pressure too low, soft edges | Use a table with a thin towel |
| Too short per section | Edges lift after first wash | 20–30 s per area + reverse side |
| Peeling too early | Film lifts with the carrier | Respect the peel type |
Testing an iron's real temperature
Household irons are not calibrated for textile transfers. The "Cotton" setting typically ranges between 170 and 200 °C, but the temperature cycles up and down as the thermostat switches. A simple test: place a scrap of HTV with carrier on a spare piece of fabric, press for 20 seconds, let it cool and try to scratch the edge with a fingernail. If it lifts, extend the time or increase the temperature slightly. Some decorators use infrared thermometers or temperature test strips to get a clearer picture.
Safety tips
- Never leave a hot iron or heat press unattended – switch off after use.
- Keep children and pets away from the work area.
- Use heat-resistant gloves when handling thick items on a press.
- Ensure good ventilation, especially when pressing many PVC transfers in a small room.
- Check cables and plugs regularly; heat presses draw 1.5–2.5 kW.
Maintaining your equipment
Clean the iron soleplate or press platen regularly with a soft cloth when cool. Adhesive residue transfers onto garments and reduces heat transfer. For presses, replace the silicone base pad when it becomes uneven or hardened, and check that the platen stays parallel – an uneven platen is a hidden cause of inconsistent adhesion. A PTFE (Teflon) platen cover makes cleaning easier and protects delicate films.
Our recommendation by user type
- Hobbyists and schools: start with a good iron and thin films (NS, ST, MT); upgrade to a mini press for small items.
- Etsy sellers and small shops: a 38×38 cm clamshell or swing-away press offers the best value.
- Team and workwear producers: a large-format or pneumatic press with a digital timer and pressure gauge.
Start with an iron to learn the craft, but move to a heat press as soon as other people pay for your work. Consistency is what customers remember.
Use our heat press calculator to find starting settings for iron, mini press and heat press for every VENYL series.